Hi folks,
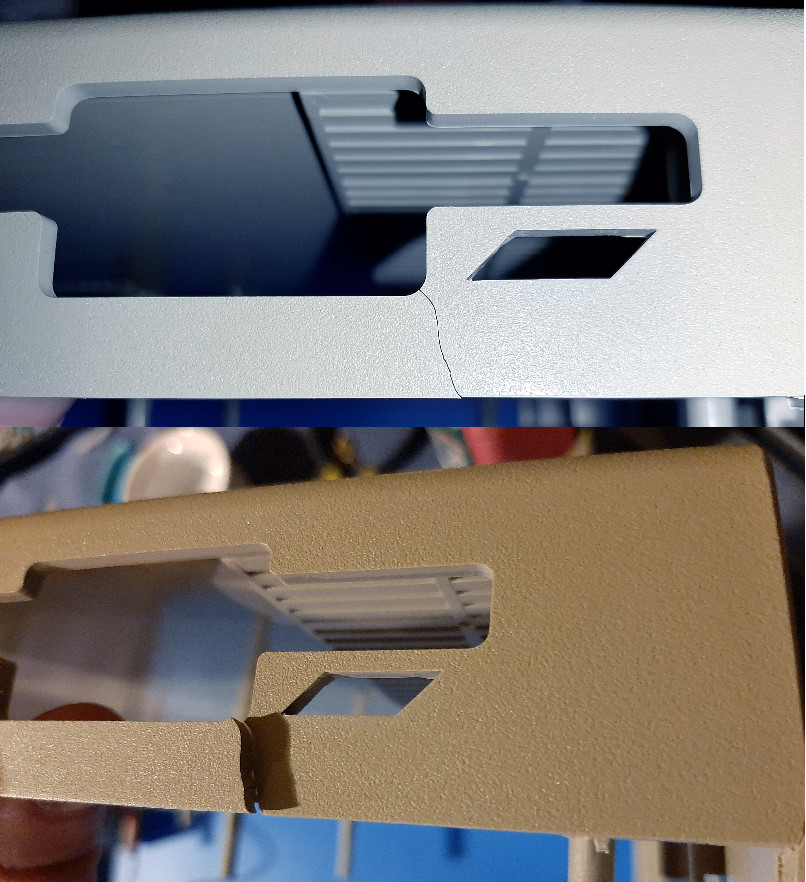
Our beloved Atari computers are fragile, read this to see how i fix the broken cases.
Tutorials
Here you’ll find all my tutorials : How to convert a cassette to a cas or wav file, dump a cartridge, convert a floppy disk to an ATR/Pro file.
Tutorial : How to dump an old Atari cassette/tape to a CAS or WAV file
Hi @ll, this is my first tutorial, i hope you’ll find it usefull.
Required tools :
1 – First Steps
- Connect the headphone output to the microphone input of your PC.
- Keep away any source of interferences such as your mobile phone.
Place the cassette in the player but before recording it, it will be necessary to prepare the tape to have a reading as smooth as possible.
We have to avoid any offset between the tape and the reading head with three important steps:
- Rewind the tape completely (rewind)
- Fast Forward to the end (fast forward)
- Rewind the cassette completely again (rewind)
2 – Recording
Check your recording/microphone volume (on your PC/Windows) is set to 100% (default is 75%).
Start recording in Audacity until your reach the end of the tape.
You may need to repeat this process several times by adjusting the output volume on your cassette player to see a correct result.
If the sound is too loud, it won’t work :

If the sound is too low or if your forgot the rewind/fast-forward/rewind steps, it won’t work either :

If everything went fine you should have something similar to this :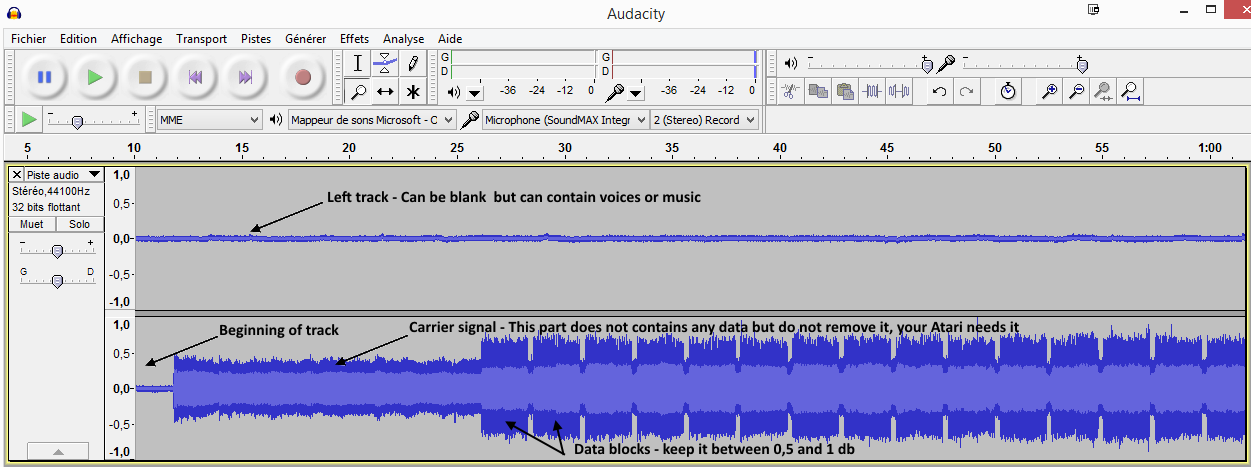
- Since you don’t have any music you can remove the left track (Audacity, audio track (on the left), track/split) then remove the left track.
- Remove any blank audio at the end of the track (after the last carrier signal).
- Export the result as a 16 bits PCM Wav file (do not use the metadatas).
3 convert the WAV file to CAS format (2 different ways : A – with A8CAS or B – with Altirra)
A – Using A8CAS
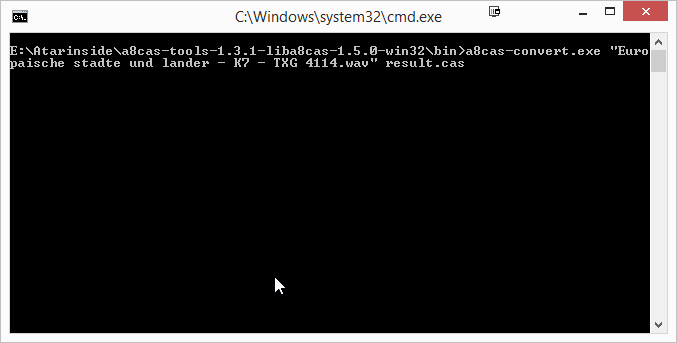
Then check if you don’t have any “Attempting to recognize data block… failed” in the middle of the wav processing.
Having one at the beginnning or at the end should not have any consequences.
4 check the result
- Open your CAS file into Altirra (File/cassette/load).
- Disable system/acceleration/C: patch (cassette SIO)
- Boot to Basic
- type CLOAD then Enter twice
If everything is OK you should have a “READY” message, type RUN and enjoy your program.
B – It doesn’t work ? Try this workaround with Altirra :
- Disable system/acceleration/C: patch (cassette SIO)
- Open your WAV file into Altirra (File/cassette/load).
- Boot to Basic
- type CLOAD then enter twice
If everything is OK you should have a “READY” message, type RUN and enjoy your program.
If you have an “Error 143” :
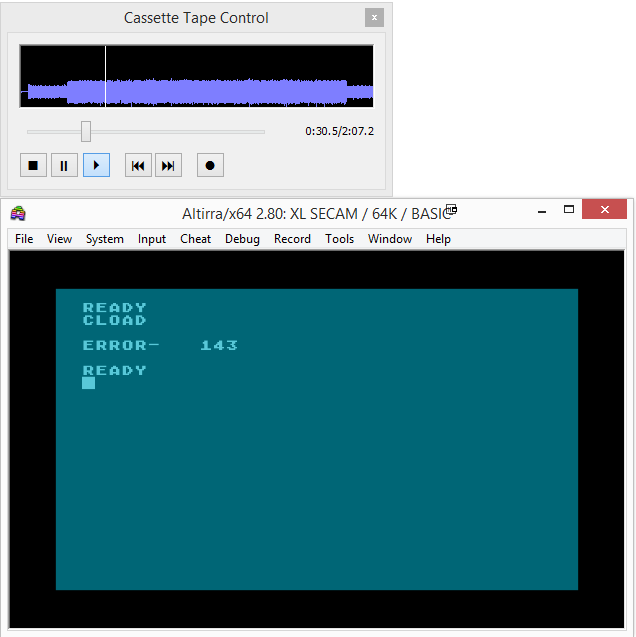
- Enable system/acceleration/C: patch (cassette SIO)
- Boot to Basic (System/Cold reset) – This will also rewind your virtual tape.
- type CLOAD then enter twice :
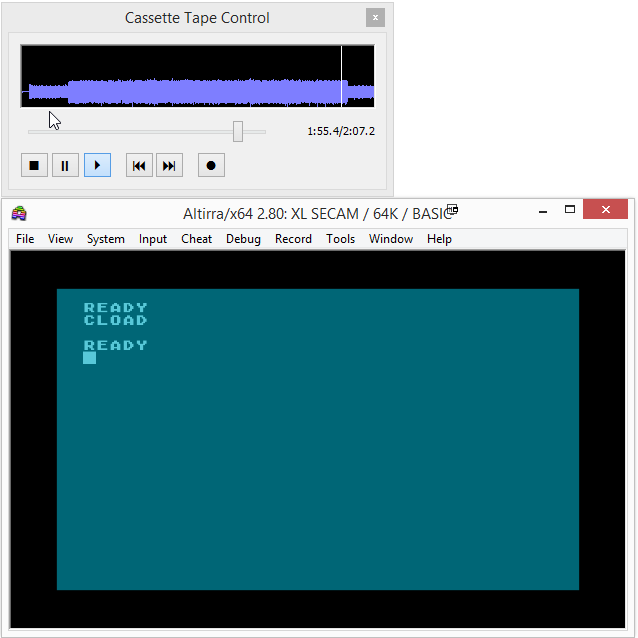
If everything is OK you should have a “READY” message, type RUN and enjoy your program.
If not…adjust the sound volume a bit on your player (try more and/or try less loudness) then…go back to step one.
Now your program is loaded but you still need to convert it to a CAS file :
- Create a new tape within Altirra :
- File/Cassette/New tape
- Disable system/acceleration/C: patch (cassette SIO) – This step is IMPORTANT. If you don’t do it, the result won’t be usable for other emulators and even with altirra itself if C: patch is not enabled.
- Open File/Cassette/Tape Control then press the record button (round dot on the right).
- Type CSAVE then Enter twice and wait until the “READY” message.
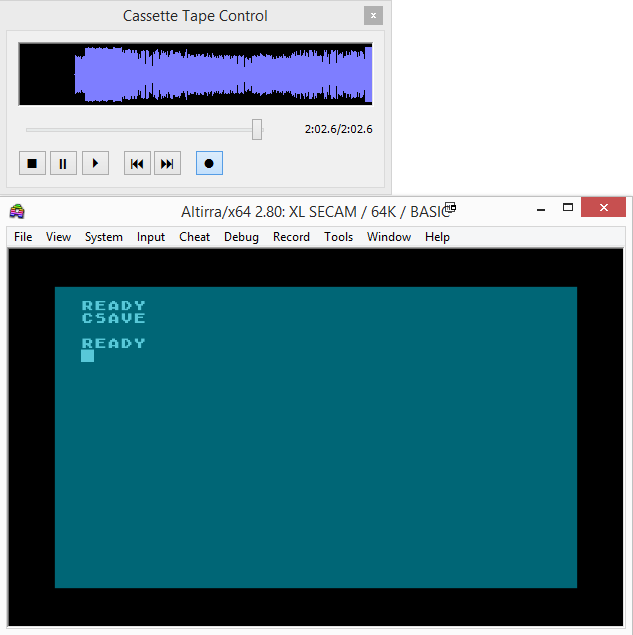
Now save your new tape as a CAS File : File/Cassette/Save.
Et voila ! You now have a working copy of your good old tape !
